
Installation Guide and Precautions for Screw Jack Systems
2025-11-25 14:02:07
Click:
“
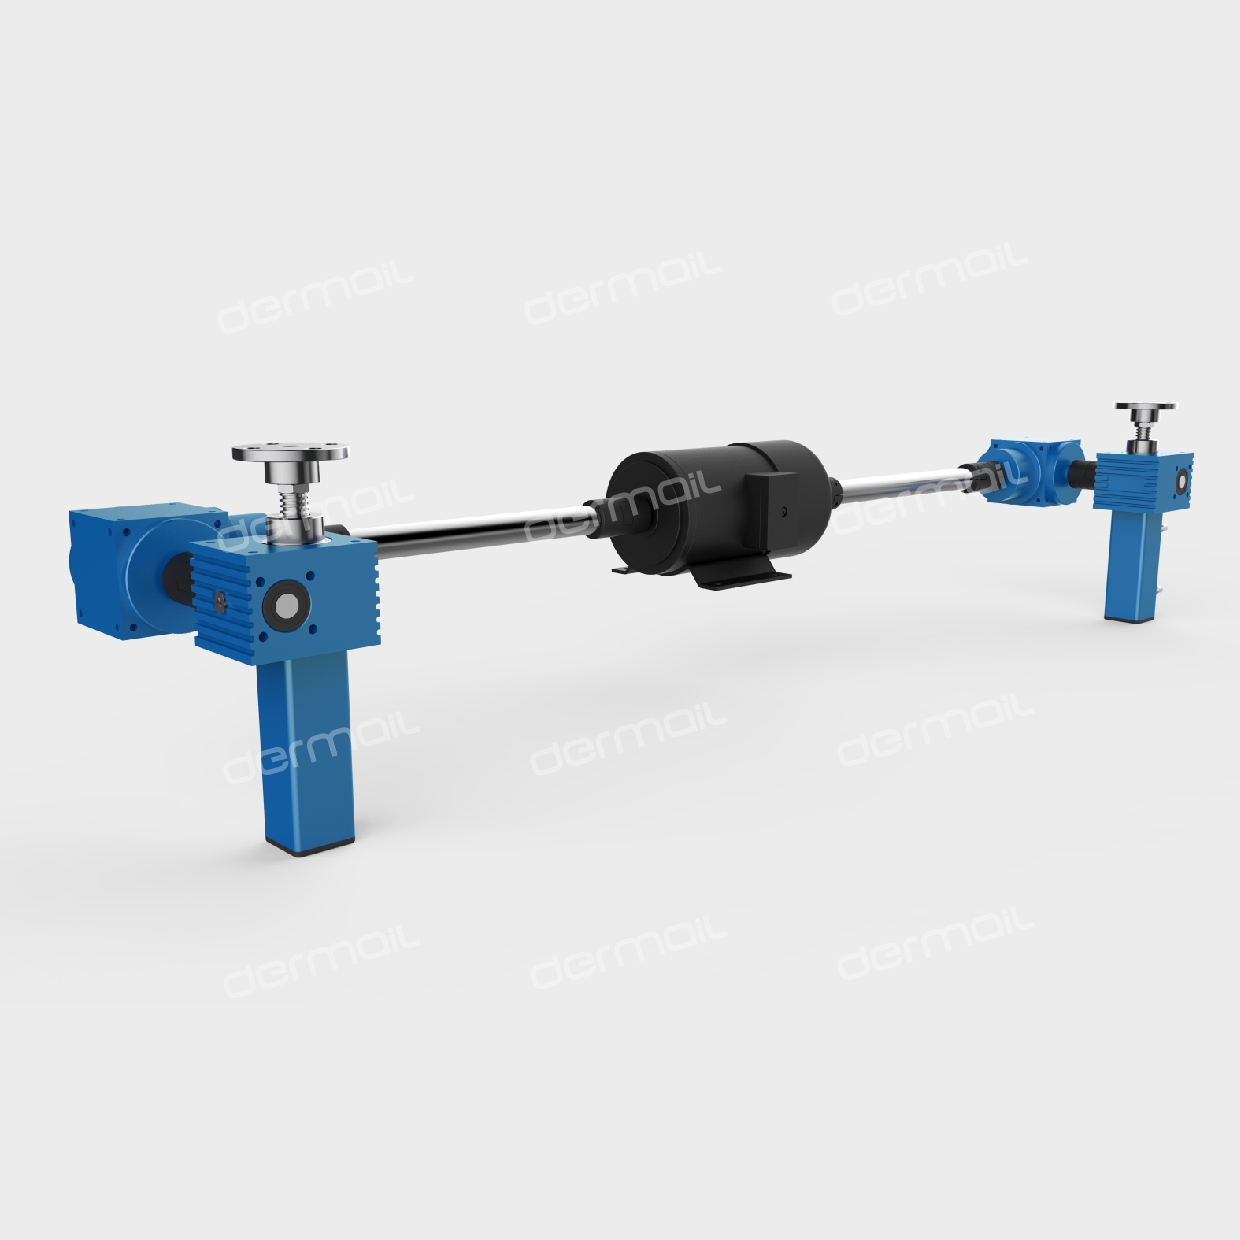
Screw Jack Systems are precision mechanical devices widely used in industrial automation, lifting platforms, and material handling systems. Proper installation is critical to ensuring operational efficiency, safety, and longevity.
”
Screw Jack Systems are precision mechanical devices widely used in industrial automation, lifting platforms, and material handling systems. Proper installation is critical to ensuring operational efficiency, safety, and longevity. Below is a step-by-step guide along with essential precautions.
1. Pre-Installation Preparation
a. Environmental Assessment
- Ensure the Screw Jack Installation site is level, dry, and free from vibrations. The foundation must meet the load-bearing requirements specified in the technical manual (typically ≥1.5x the equipment weight).
- Avoid environments with corrosive gases, liquids, or extreme temperatures (unless using a specialized model like stainless steel or high-temperature-resistant variants).
b. Tool and Personnel Readiness
- Prepare tools: Torque wrench, laser level, dial indicator, grease gun, and safety gear (gloves, goggles).
- Assign trained technicians or request on-site support from the supplier for complex systems.
c. Unpacking Inspection
- Verify all components against the packing list: main body, motor (if included), couplings, mounting brackets, bolts, and manuals.
- Inspect for shipping damage (e.g., dents, scratches on the screw shaft). Document issues with photos and contact the supplier immediately.
2. Installation Steps
Step 1: Base Mounting
- Position the screw jack on the foundation and align mounting holes.
- Secure it using anchor bolts, tightening to the torque specified in the manual (e.g., 80–120 N·m for M16 bolts).
- Use a laser level to ensure vertical/horizontal alignment (error ≤0.1 mm/m).
Step 2: Coupling and Motor Installation (If Applicable)
- Align the motor shaft with the screw jack input shaft using a dial indicator. Radial/axial runout should be ≤0.05 mm.
- Install the coupling and tighten bolts evenly to avoid misalignment.
- Connect electrical wiring per the diagram, ensuring grounding and overload protection.
Step 3: Screw Shaft and Nut Assembly
- Clean the screw shaft with a lint-free cloth and apply a thin layer of lithium-based grease.
- Install the lifting nut onto the screw, ensuring it moves smoothly without binding.
- Adjust preload by tightening the backnut or spring washers to eliminate axial backlash (critical for high-precision applications).
Step 4: Safety Device Installation
- Attach limit switches at the top/bottom travel positions to prevent over-extension.
- Install protective covers (e.g., bellow boots) to shield the screw from dust and debris.
3. Testing and Commissioning
a. Manual Test
- Rotate the screw manually (or via handwheel) to check for smooth operation and abnormal noise.
b. No-Load Test
- Power on the system at low speed (≤50 rpm) and monitor:
- Current consumption (should not exceed rated values).
- Temperature rise (≤65°C after 1 hour of continuous operation).
- Vibration levels (use a vibration meter; values should align with ISO standards).
c. Load Test
- Gradually apply loads in stages (25%, 50%, 75%, 100% of rated capacity).
- Verify positioning accuracy (repeatability ≤±0.05 mm for precision models).
4. Critical Precautions
- Alignment Is Key
- Misalignment of the screw shaft or coupling can cause premature wear, noise, or failure. Always use precision instruments for alignment.
- Lubrication Matters
- Use only recommended grease (e.g., NLGI grade 2 lithium soap). Over-lubrication can attract dust, while under-lubrication increases friction.
- Avoid Overloading
- Never exceed the rated dynamic/static load capacity. Sudden overloads may deform the screw or nut.
- Environmental Control
- In humid environments, apply anti-corrosion coating or use stainless steel models. For cleanroom applications, opt for sealed designs.
- Regular Inspections
- Check for oil leaks, loose bolts, or unusual sounds during operation. Replace worn components (e.g., bearings, seals) promptly.
- Check for oil leaks, loose bolts, or unusual sounds during operation. Replace worn components (e.g., bearings, seals) promptly.
5. Post-Installation Documentation
- Archive technical manuals, warranty certificates, and installation records.
- Label the system with key parameters (model, serial number, maintenance schedule) for future reference.
Conclusion
Proper installation and maintenance of dermail screw jacks ensure reliable performance and safety. By following these steps and precautions, users can minimize downtime, extend service life, and optimize operational efficiency. For complex systems, collaborating with the supplier’s engineering team during installation is highly recommended.


Tel:+86-317-7369999
E-mail: demai@demai.org
Mobile:+86-18653450543 (Wechat)
Address:No. 6, Haihe Road, economic development zone, Wuqiao County, Cangzhou City, Hebei Province

点击右上角
分享给朋友吧
Copyright ©2023 All Rights Reserved Hebei Demai Transmission Machinery Co.,Ltd.
Copyright ©2025 All Rights Reserved Hebei Demai Transmission Machinery Co.,Ltd.
