
How to Adjust the Levelness When Installing Ball Screw Jacks
2025-09-28 14:00:56
Click:
“
Ball screw jacks are extensively utilized across diverse industrial sectors, including material handling systems, precision machining setups, and automated production lines.
”
Ball screw jacks are extensively utilized across diverse industrial sectors, including material handling systems, precision machining setups, and automated production lines. Precise levelness adjustment during the installation process is of paramount importance to guarantee the seamless operation, high - level accuracy, and long - term durability of ball screw jacks. Here is a detailed step - by - step guide on how to effectively adjust their levelness.
1. Preparation before Adjustment
1.1 Select a Suitable Installation Site
The installation surface must be flat, rigid, and capable of supporting the weight of the ball screw jacks as well as the loads they will bear. Avoid installing on soft or uneven ground, as this can lead to inaccurate levelness adjustments and subsequent operational problems. For instance, installing on a surface with significant slope or soft soil may cause the jacks to tilt over time, affecting their performance.
1.2 Gather Necessary Tools
- Leveling Instruments: A high - precision spirit level or a digital level meter is indispensable for accurate measurements. The spirit level should feature a clear and easy - to - read bubble, while the digital level meter can offer more precise numerical readings, allowing for more detailed adjustments.
- Adjusting Shims: These are thin, flat pieces of material, such as metal or plastic, used to raise or lower different parts of the jacks to achieve the desired levelness. It is advisable to have a variety of shim thicknesses available to enable fine - tuning during the adjustment process.
- Wrenches and Screwdrivers: Depending on the type of fasteners used in the jacks' mounting, appropriate wrenches and screwdrivers are required to loosen and tighten the bolts during the adjustment procedure.
2. Initial Installation and Rough Leveling
2.1 Position the Ball Screw Jacks
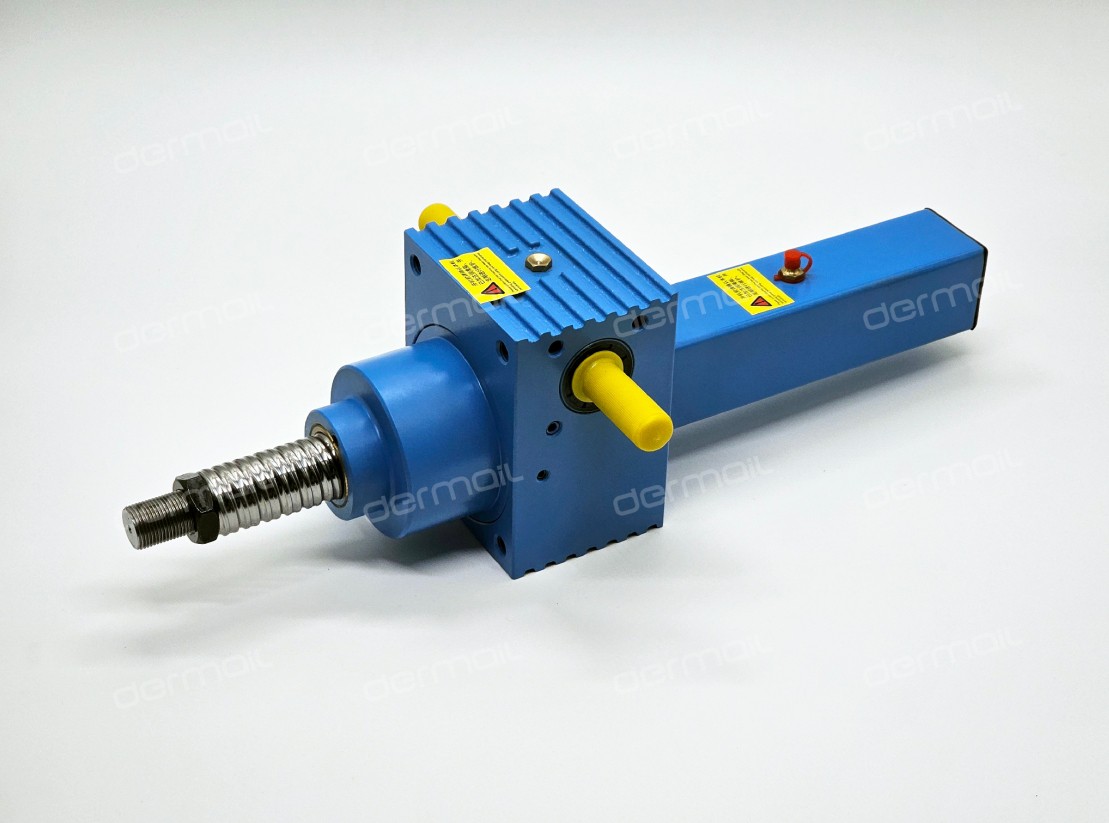
Carefully place the dermail transmission ball screw jacks on the installation surface. Align them according to the marked position and orientation specified in the installation manual. Ensure that the jacks are placed in a way that allows for easy access during the adjustment and subsequent maintenance processes.
2.2 Rough Leveling
Use the leveling instrument to check the initial levelness of the jacks. Place the level on different parts of the jacks' base or frame, such as the four corners and the center. If the bubble in the spirit level is not centered or the digital level meter shows a significant deviation from zero, initiate the rough leveling process.
- Raising Low Areas: Insert shims under the low - lying parts of the jacks' base. Start with thicker shims for larger deviations and gradually switch to thinner ones as the levelness improves. For example, if one corner of the jack is significantly lower than the others, a thicker shim can be placed under that corner to bring it closer to the desired level.
- Lowering High Areas: In some cases, if the jacks are resting on an uneven surface, you may need to remove or reduce the thickness of the shims under the high - lying parts. This helps to create a more even base for the jacks.
3. Fine - Tuning the Levelness
3.1 Precise Measurement
After the rough leveling, take more precise measurements using the leveling instrument. Move the level to different critical points on the jacks, including areas near the ball screw, motor mounts (if applicable), and load - bearing sections. Record the levelness readings at each point. These detailed measurements will serve as a basis for further adjustments.
3.2 Incremental Adjustments
Based on the measurement results, make incremental adjustments. If one side of the jacks is slightly higher than the other, add a thin shim under the lower side. Tighten the mounting bolts slightly after each adjustment to ensure stability, but do not fully tighten them until the final levelness is achieved. This step - by - step approach allows for more controlled and accurate leveling.
3.3 Check for Uniformity
Rotate the level 90 degrees and repeat the measurement and adjustment process. This helps to ensure that the jacks are level not only in the longitudinal and transverse directions but also in all possible orientations. Continue making small adjustments until the levelness readings are within the acceptable tolerance range specified in the manufacturer's instructions. Generally, a tolerance of ±0.05 mm/m or less is considered acceptable for high - precision applications.
4. Final Verification and Tightening
4.1 Comprehensive Verification
Once you believe the jacks are properly leveled, conduct a comprehensive verification. If possible, run the jacks through a short - range movement while continuously monitoring the levelness. Observe if there are any changes in the levelness during operation, which may indicate an unstable installation or an issue with the internal components. For example, if the levelness changes significantly during the movement, it could be due to loose mounting bolts or an uneven distribution of the load.
4.2 Tighten the Mounting Bolts
After confirming the levelness, fully tighten all the mounting bolts according to the specified torque values. Use a torque wrench to ensure accurate tightening. Over - tightening can damage the threads or distort the jacks' structure, while under - tightening can lead to loosening during operation. It is crucial to follow the manufacturer's recommended torque values to maintain the integrity of the installation.
5. Post - Adjustment Checks
5.1 Load Test
Perform a load test on the ball screw jacks after leveling. Gradually apply the rated load and monitor the jacks' performance. Check for any abnormal noises, vibrations, or changes in levelness. If any issues are detected, re - evaluate the levelness and make necessary adjustments. For instance, if there are unusual vibrations during the load test, it could be a sign that the levelness is not optimal, and further fine - tuning may be required.
5.2 Regular Re - checks
Levelness can change over time due to factors such as temperature variations, vibrations, and settling of the installation surface. Schedule regular re - checks of the ball screw jacks' levelness, especially after significant operational changes or long - term use. This proactive approach helps to identify and address any levelness issues before they cause more serious problems.
In conclusion, adjusting the levelness of ball screw jacks during installation demands patience, precision, and the use of appropriate tools. By following these steps meticulously, you can ensure that the jacks operate at their optimal performance level, providing reliable and accurate motion control in your industrial processes.


Tel:+86-317-7369999
E-mail: demai@demai.org
Mobile:+86-18653450543 (Wechat)
Address:No. 6, Haihe Road, economic development zone, Wuqiao County, Cangzhou City, Hebei Province

点击右上角
分享给朋友吧
Copyright ©2023 All Rights Reserved Hebei Demai Transmission Machinery Co.,Ltd.
Copyright ©2025 All Rights Reserved Hebei Demai Transmission Machinery Co.,Ltd.
