
Installation Steps and Precautions for Screw Jacks
2025-07-19 14:14:42
Click:
“
Screw jacks are widely used in industrial machinery, lifting platforms, and automation systems for precise linear motion control. Proper installation is critical to ensure safety, reliability, and long service life. Below are the standard installation steps and essential precautions
”
Screw jacks are widely used in industrial machinery, lifting platforms, and automation systems for precise linear motion control. Proper installation is critical to ensure safety, reliability, and long service life. Below are the standard installation steps and essential precautions: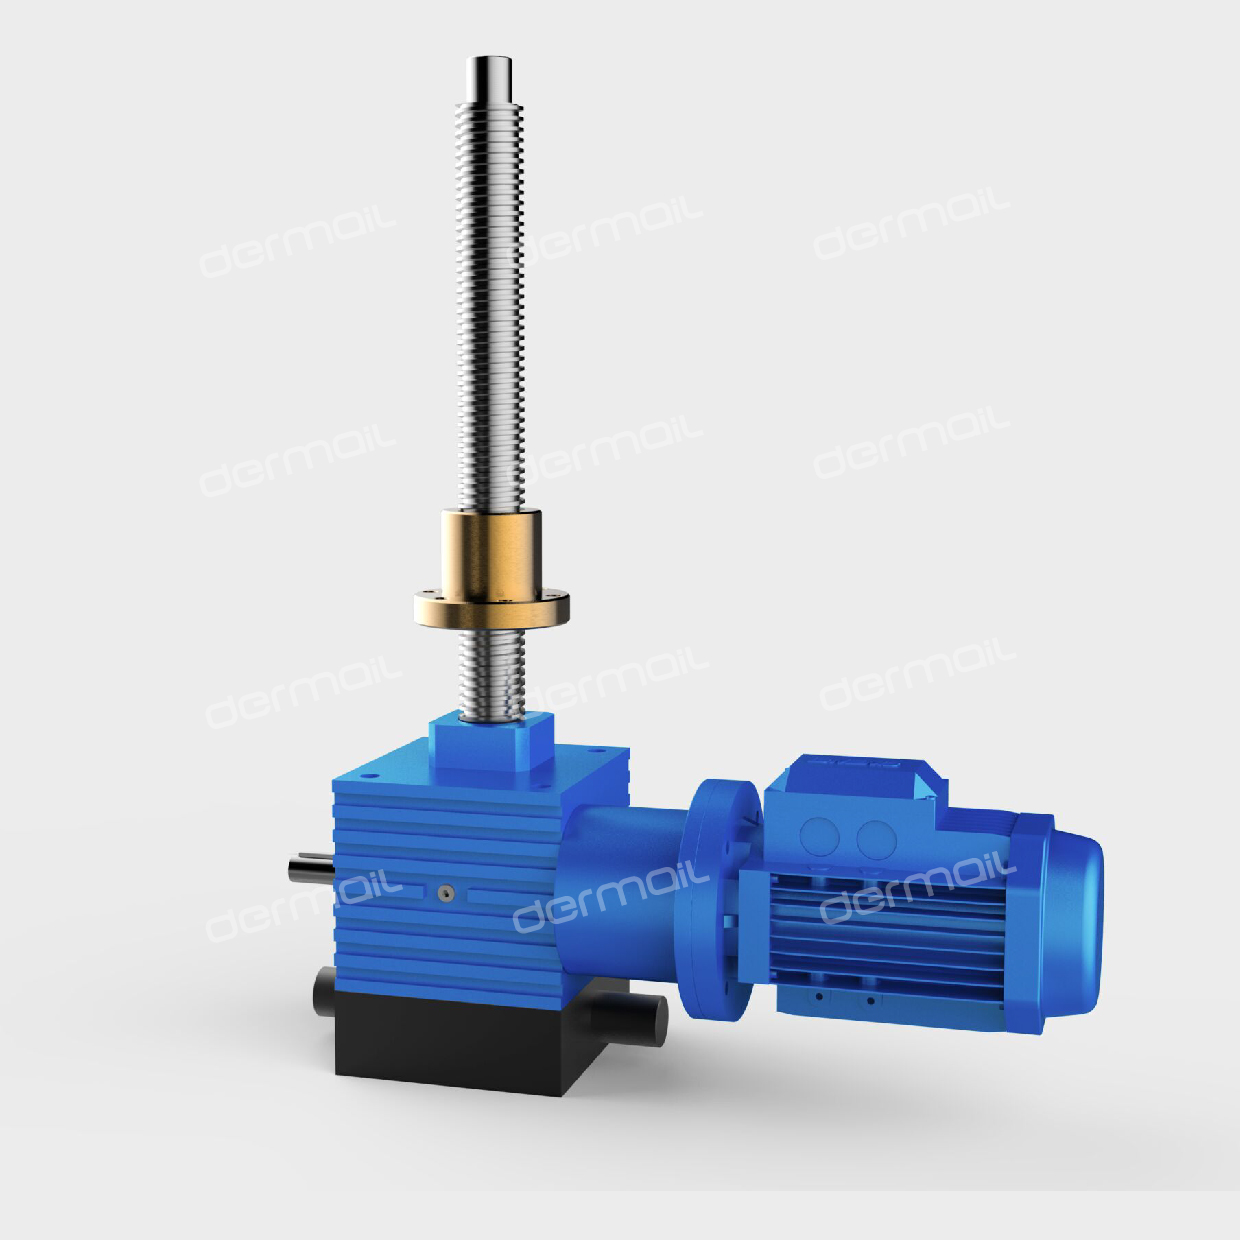
1. Pre-Installation Preparation
- Check Components: Verify that all parts (screw, nut, housing, motor/gearbox, and accessories) are complete and free from damage.
- Clean the Site: Ensure the installation surface is flat, clean, and free of debris, oil, or moisture.
- Review Specifications: Confirm the screw jack model matches the load, speed, and travel requirements specified in the design.
2. Positioning and Mounting
- Align the Base: Place the screw jack on a rigid, level foundation. Use shims if necessary to correct misalignment.
- Secure Fastening: Tighten mounting bolts to the manufacturer’s recommended torque using a torque wrench. Avoid over-tightening, which may deform the housing.
- Vertical/Horizontal Orientation: Ensure the screw jack is installed in the correct orientation (vertical for lifting or horizontal for thrust applications).
3. Screw and Nut Assembly
- Lubrication: Apply the recommended lubricant (grease or oil) to the screw thread and nut before installation to reduce friction and wear.
- Insert the Screw: Carefully slide the screw into the nut, ensuring it engages smoothly without binding.
- Limit Travel: Install end stops or limit switches to prevent over-travel, which could damage the screw or housing.
4. Coupling with Drive System
- Motor/Gearbox Alignment: If using a motor or gearbox, align the coupling precisely to avoid misalignment-induced vibration or noise.
- Flexible Couplings: Use flexible couplings to accommodate minor shaft misalignment and reduce stress on components.
- Test Rotation: Manually rotate the screw (or motor) to ensure smooth operation without stiffness or jamming.
5. Connection of Accessories
- Load Attachment: Secure the load to the lifting eye, clevis, or flange using high-strength bolts or pins. Distribute the load evenly to prevent eccentric loading.
- Safety Guards: Install protective covers or guards to prevent contact with moving parts (e.g., screw threads).
- Wiring and Controls: Connect the motor to the power supply and control system per electrical diagrams, ensuring proper grounding and insulation.
6. Initial Testing and Adjustment
- No-Load Test: Run the screw jack without a load to check for abnormal noise, vibration, or leakage.
- Load Test: Gradually apply the rated load while monitoring temperature, alignment, and smoothness of operation.
- Fine-Tuning: Adjust limit switches, backlash, or preload (if applicable) to optimize performance.
Key Precautions During Installation
- Avoid Side Loading: Screw jacks are designed for axial loads only. Side forces can cause bending, premature wear, or failure.
- Prevent Contamination: Keep the screw thread clean during installation to avoid abrasive particles accelerating wear.
- Temperature Considerations: In high-temperature environments, select heat-resistant lubricants and materials.
- Regular Inspection: After installation, periodically check for loose bolts, lubrication levels, and component wear.
- Compliance with Standards: Follow local safety regulations (e.g., OSHA, ISO) and manufacturer guidelines.
Conclusion
Proper installation of screw jacks ensures operational efficiency and extends equipment lifespan. By following these steps and precautions, users can minimize risks of malfunction, downtime, and safety hazards. For complex applications, consult the dermail transmission or a professional engineer to validate the setup.
From:
Dermail Transmission


Tel:+86-317-7369999
E-mail: demai@demai.org
Mobile:+86-18653450543 (Wechat)
Address:No. 6, Haihe Road, economic development zone, Wuqiao County, Cangzhou City, Hebei Province

点击右上角
分享给朋友吧
Copyright ©2023 All Rights Reserved Hebei Demai Transmission Machinery Co.,Ltd.
Copyright ©2025 All Rights Reserved Hebei Demai Transmission Machinery Co.,Ltd.
