
How to Properly Clean and Lubricate Ball Screws in Ball Screw Jacks
2025-06-26 14:05:19
Click:
“
IntroductionBall screw jacks are essential components in many industrial and mec
”
Introduction
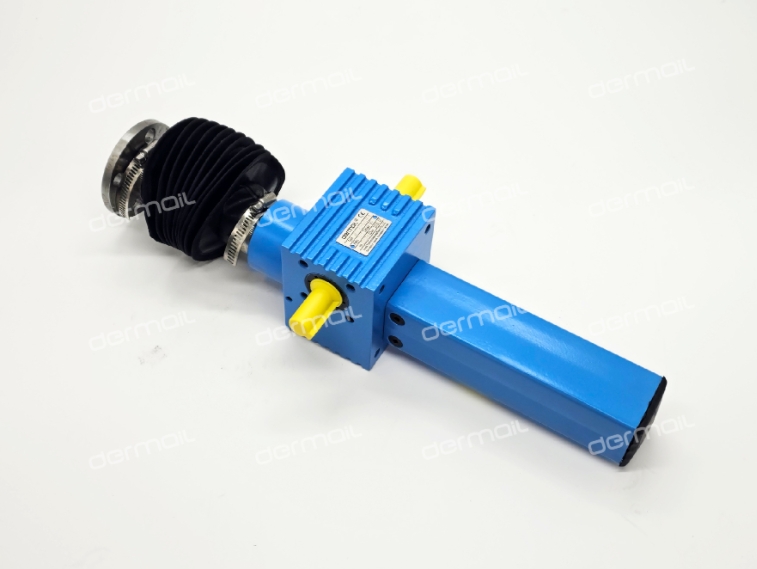
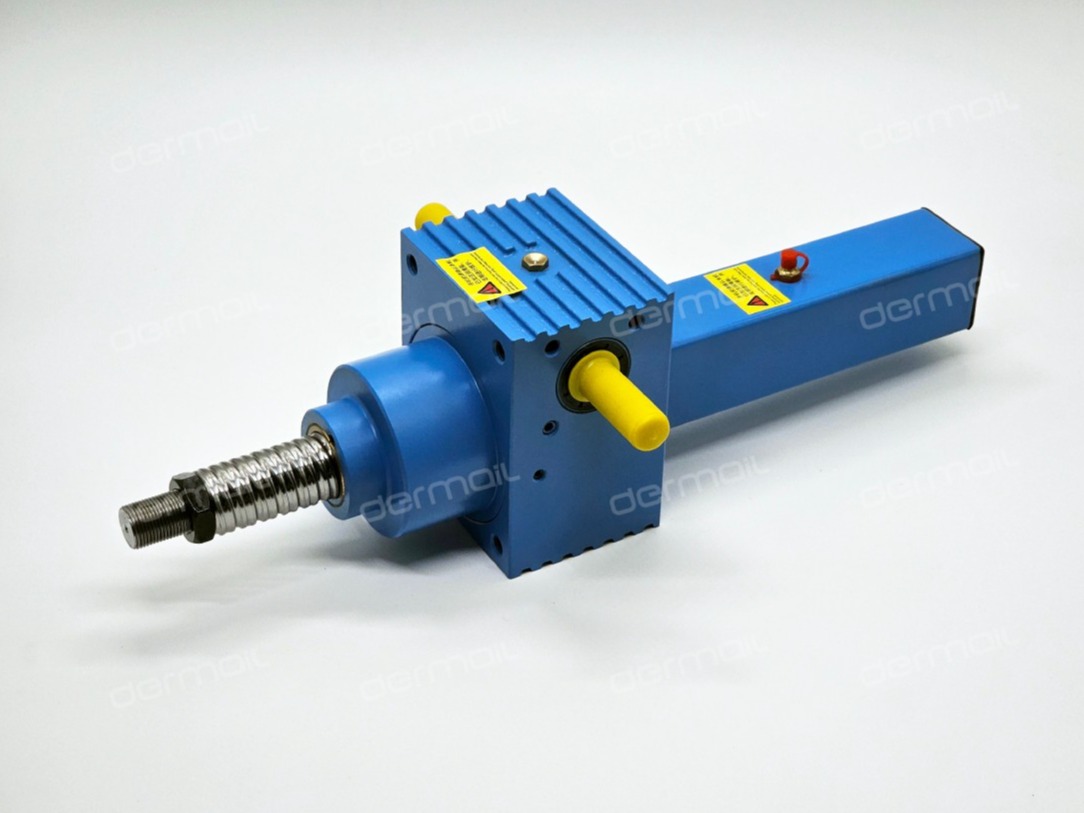
Ball screw jacks are essential components in many industrial and mechanical systems, converting rotational motion into precise linear motion. The ball screw, a critical part of these jacks, relies on smooth operation and minimal friction to function effectively. Proper cleaning and lubrication of the ball screw are crucial for maintaining its performance, extending its lifespan, and ensuring the reliability of the entire system. This article provides a step-by-step guide on how to correctly clean and lubricate ball screws in ball screw jacks.
Importance of Cleaning and Lubrication
1. Reducing Friction
Lubrication forms a protective film between the ball screw and the nut, reducing friction and wear. This allows for smoother motion and improved efficiency.
2. Preventing Wear and Corrosion
Regular cleaning removes contaminants that can cause abrasive wear and corrosion. Proper lubrication further protects the ball screw from environmental factors, such as moisture and chemicals.
3. Enhancing Precision
A well-maintained ball screw ensures accurate positioning and repeatability, which are vital in applications requiring high precision, such as CNC machines and robotics.
4. Extending Lifespan
By minimizing wear and tear, proper cleaning and lubrication can significantly extend the service life of the ball screw, reducing maintenance costs and downtime.
Step-by-Step Guide to Cleaning and Lubricating Ball Screws
Step 1: Prepare the Work Area
- Safety First: Ensure the power to the ball screw jack is turned off and the system is locked out to prevent accidental operation.
- Gather Tools and Materials: Collect cleaning solvents (such as isopropyl alcohol or a specialized industrial cleaner), lint-free cloths, soft brushes, a lubricant suitable for ball screws (e.g., grease or oil with anti-wear and extreme pressure additives), and protective gloves.
Step 2: Clean the Ball Screw
- Remove Debris: Use a soft brush or compressed air to gently remove loose debris, dust, and metal shavings from the ball screw surface and threads. Be careful not to damage the threads.
- Apply Cleaning Solvent: Moisten a lint-free cloth with the cleaning solvent and carefully wipe the ball screw. For stubborn contaminants, apply the solvent directly to the affected area and let it sit for a few minutes before wiping.
- Rinse (if necessary): If using a water-based cleaner, rinse the ball screw with clean water to remove any residue. Ensure the ball screw is completely dry before proceeding to lubrication.
- Dry Thoroughly: Use a dry, lint-free cloth to wipe the ball screw dry. Alternatively, allow it to air dry in a clean, dust-free environment.
Step 3: Inspect the Ball Screw
- Check for Damage: Look for signs of wear, such as pitting, scoring, or deformation on the ball screw threads. Also, inspect the ball nut for any abnormalities.
- Measure Tolerance: If possible, use precision measuring tools to check the ball screw's tolerance and ensure it is within the specified range.
- Address Issues: If any damage or excessive wear is detected, consult the manufacturer or a qualified technician for repair or replacement.
Step 4: Lubricate the Ball Screw
- Select the Right Lubricant: Choose a lubricant recommended by the ball screw manufacturer for your specific application. Consider factors such as load, speed, temperature, and environmental conditions.
- Apply Lubricant:
- For Grease Lubrication: Use a grease gun to apply a thin, even layer of grease along the length of the ball screw. Rotate the ball screw manually to distribute the grease evenly within the nut.
- For Oil Lubrication: Use an oil can or an automated lubrication system to apply a small amount of oil to the ball screw. Ensure the oil penetrates the threads and reaches the balls inside the nut. Rotate the ball screw to distribute the oil.
- Avoid Over-Lubrication: Excessive lubricant can attract dirt and debris, leading to increased wear. Follow the manufacturer's recommendations regarding the amount and frequency of lubrication.
Step 5: Reassemble and Test
- Reinstall Components: If the ball screw was removed for cleaning, carefully reinstall it in the ball screw jack, ensuring proper alignment and secure fastening.
- Power On and Test: Restore power to the system and perform a test run. Monitor the ball screw's operation for any unusual noises, vibrations, or resistance. Adjust the lubrication if necessary.
Maintenance Schedule
- Regular Inspections: Conduct visual inspections of the ball screw at regular intervals, depending on the operating conditions and manufacturer's recommendations.
- Scheduled Cleaning and Lubrication: Establish a maintenance schedule for cleaning and lubricating the ball screw. The frequency may vary from weekly to monthly, depending on factors such as usage, environmental conditions, and load.
- Keep Records: Maintain detailed records of maintenance activities, including cleaning and lubrication dates, observations, and any repairs or replacements performed.
Conclusion
Proper cleaning and lubrication are essential for the optimal performance and longevity of ball screws in ball screw jacks. By following the steps outlined in this article and adhering to a regular maintenance schedule, you can ensure that your ball screw jacks operate smoothly, accurately, and reliably. Regular maintenance not only extends the life of the ball screw but also contributes to the overall efficiency and productivity of your industrial or mechanical system.
Thank you for reading this article. If you are interested in our products, please feel free to contact us at Demai Transmission. We will serve you wholeheartedly.


Tel:+86-317-7369999
E-mail: demai@demai.org
Mobile:+86-18653450543 (Wechat)
Address:No. 6, Haihe Road, economic development zone, Wuqiao County, Cangzhou City, Hebei Province

点击右上角
分享给朋友吧
Copyright ©2023 All Rights Reserved Hebei Demai Transmission Machinery Co.,Ltd.
Copyright ©2025 All Rights Reserved Hebei Demai Transmission Machinery Co.,Ltd.
